

If you are an owner of Windows Vista Business, Ultimate, or Enterprise then you have access to a feature called Complete PC Backup and Restore. This feature allows you to create backup images of your computer so that you can do a system-wide restore in the case of complete system failure. This allows you to not only restore user data and programs, but also the entire operating system onto new or existing hardware. A more complete description of Complete PC Backup and Restore can be found at the following tutorial: Windows Vista Disaster Recovery with Complete PC Backup and Restore
To restore a Complete PC Backup you must do so within the Windows Recovery Environment. To access the Windows Recovery Environment you need to insert your Vista DVD into the DVD drive on your computer and turn your computer on. Your computer will start and you should see the BIOS listing the hardware on your computer and other information. When that information has been cleared, your computer will see that a bootable DVD is inserted and present a prompt similar to Figure 1 below.

Figure 1. Boot the computer from the CD or DVD
As you want to boot the computer from the Windows Vista DVD, you need to press a key, any key will do, on your keyboard when you see this prompt. It is possible that the DVD that came with your computer does not allow you to boot off of it. If this is the case, then your computer manufacturer most likely installed the Windows Recovery Environment directly to a small partition on your hard drive. To access this partition, you would slowly tap the F8 key on your keyboard after the BIOS information clears from your screen until you see the Windows startup menu. From this menu use your arrow keys to select the option for the Windows Recovery Environment and press the enter key on your keyboard. You should now see a black screen with a white status bar at the bottom stating Windows is loading files.... After a while, the status bar will turn completely white and you will see a screen stating that Windows is loading. The Windows Setup environment will continue to load and when finished you will be presented with a screen similar to Figure 2 that prompts you for information about your location and language
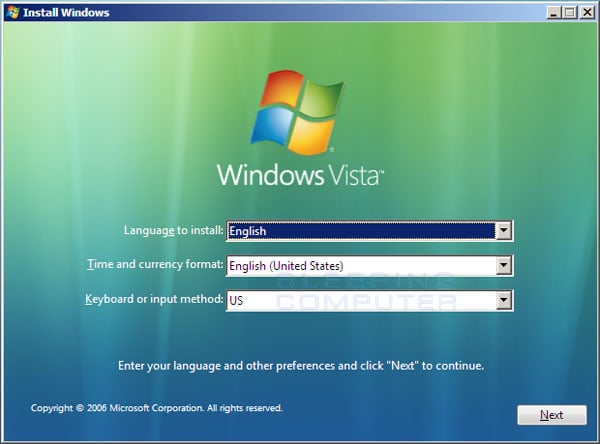 .
.Figure 2. Configure language and location options in Vista Setup
At this screen you should configure the Language to install, Time and currency format, and Keyboard or input methodoptions so that they are set correctly. When done, press the Next button. You will now be at the main Windows Vista setup screen where you would normally install Vista on to a computer.
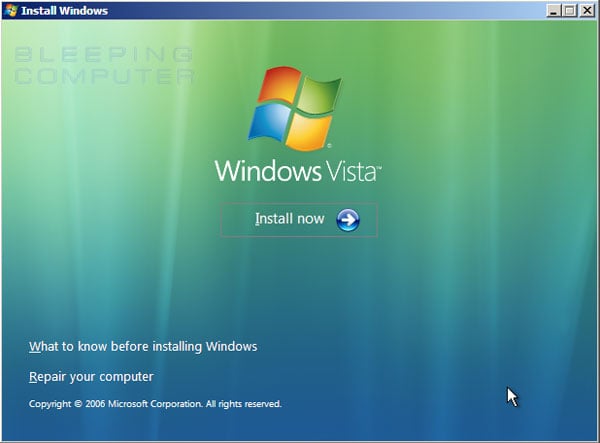
Figure 3. Windows Vista Setup options
As we want to repair the computer, you should click on the Repair your computer option. This will bring you to a new screen where the repair process will look for all Windows Vista installations on your computer. When done you will be presented with the System Recovery Options dialog box as shown in Figure 4 below.
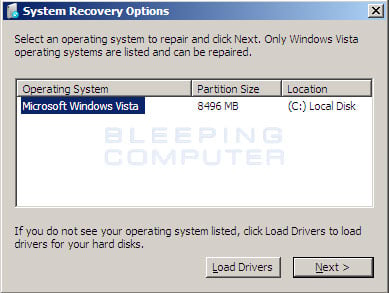
Figure 4. System Recovery Options
Select the Vista installation you would like to repair and if there are drivers you need to load in order for Vista to access any of your drives or other components, then you should click on the Load Drivers button to load them. When ready, press the Next button to continue. If the repair process does not detect any problems starting Vista, it will display a list of available recovery tools. If it does detect a problem it will attempt to perform a Startup Repair to automatically fix these problems. If you would like to allow this process to continue, then you can read more about it here. Otherwise click on the Cancel button and select the View advanced options for system recovery and support option to see the list of recovery tools.
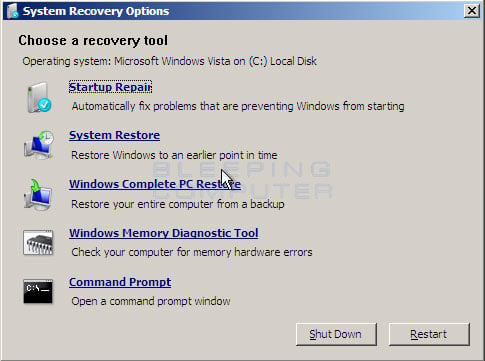
Figure 5. System Recovery Options
As we want to perform a Complete PC Restore, you would click on the Windows Complete PC Restore option. Once you click on the Windows Complete PC Restore option, Complete PC Restore will search your hard drives and DVD media for any saved backup images. If none are found, then a message will appear stating that no backups could be found. On the other hand, if a backup was found one of your drives or the inserted media you will see a screen, similar to Figure 6 below, with the latest backup selected.
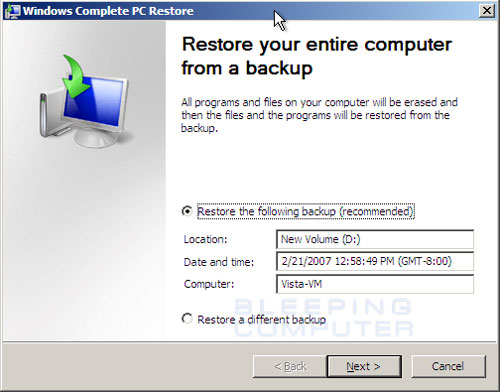
Figure 6. Specify the backup to restore
By default, Complete PC Restore will select the latest backup to restore. If the selected backup is the one you wish to restore, then you can press the Next button to continue. If there is a different backup that you would like to use, then you should select the Restore a different backup option and press the Next button. This will bring up a screen displaying the list of backups you have created in the past.
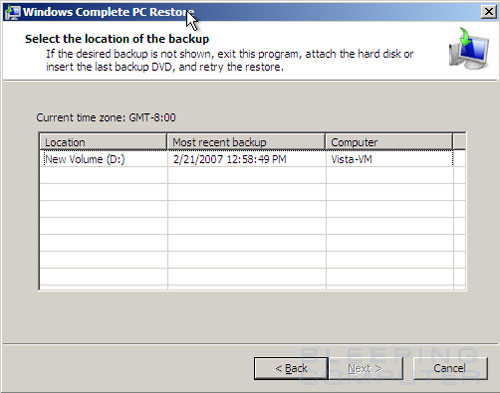
Figure 7. List of backups
You should look through the list of backups and select the one that you would like to restore. When you have finished selecting the backup, you should click on the Next button. Complete PC Restore will now examine your selected backup and see if there is more than one time you backed up your computer to this location. If you have backed up multiple times it will display an entry for each of them.
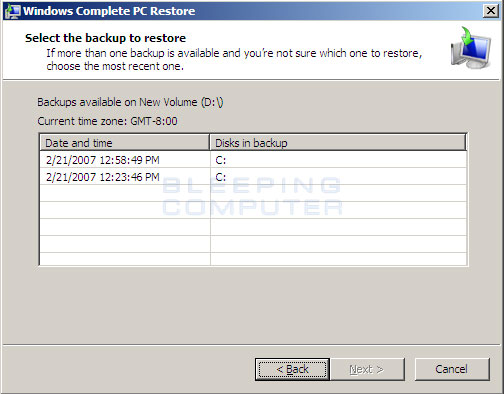
Figure 8. List of individual snapshots in an image
It is advised that you select the most recent snapshot and then press the Next button to move on to the next screen.
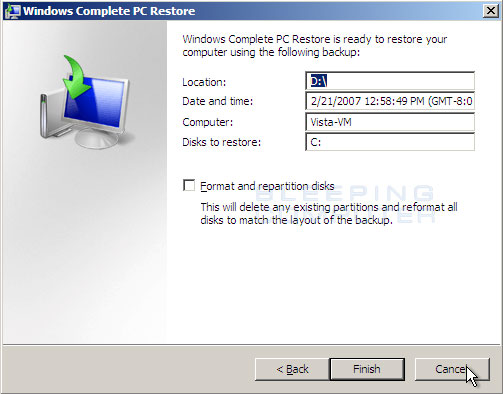
Figure 9. Confirm whether or not Complete PC Restore should format and repartition disks
This screen asks you whether or not you want to format and repartition the disks before you restore the data. If you select the Format and repartition disks option, Complete PC Restore will repartition and format the hard drive you are restoring to exactly as it was when you made the backup. If you do not choose this method, it will just erase the hard disk and restore the data to it. If you are using the same hard drive that you originally used to back up your computer then you may want to select the option to Format and repartition disks. On the other hand, if this is a new hard drive that you have partitioned in a different manner, then you should not select this option in order to keep your current disk configuration. It is important to note that with either option you select all the data on the disk you are restoring to will be erased. When you are ready to continue, you should click on the Finish button.
A new window will open stating that all of your data will be erased. If you want to continue with the restore then you need to put a checkmark in the checkbox labeled I confirm that I want to erase all existing data and restore the backup and then press the OK button. Complete PC Restore will now restore the backup on your computer.

Figure 10. Windows Complete PC is restoring the data
The restore may take quite a while depending on how large the backup is so please be patient while it completes this process. When the restore is complete you will see a message stating that it is complete and it will reboot your computer after a certain amount of time. When your computer reboots you will now be using the data and configuration from the backup you just restored. If there are still problems with your computer after using this tool, then you can attempt to use the other available repair tools. Tutorials on how to use these tools can be found below:
- How to automatically repair Windows Vista using Startup Repair
- How to use the Command Prompt in the Vista Windows Recovery Environment
- How to use the Vista Windows Memory Diagnostics Tool
- Using System Restore from the Vista Windows Recovery Environment
No comments:
Post a Comment